Configuring a NAT Gateway
This topic describes how to edit and configure a Megaport NAT Gateway (NAT Gateway). Before you begin, you need to create a NAT Gateway, as described in Creating a NAT Gateway.
For each NAT Gateway, you can edit any field on the NAT Gateway Configuration page, except the rate limit, session count, and ASN, which are fixed for the duration of the service.
Tip
You can add your NAT Gateway to your Megaport Marketplace profile. For more information about how to make your service visible to the Megaport Marketplace, see Adding services to your profile.
To edit a NAT Gateway
- Log in to the Megaport Portal and choose Services.
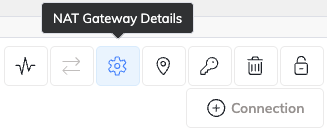
- Click the gear icon next to the NAT Gateway you want to edit.
-
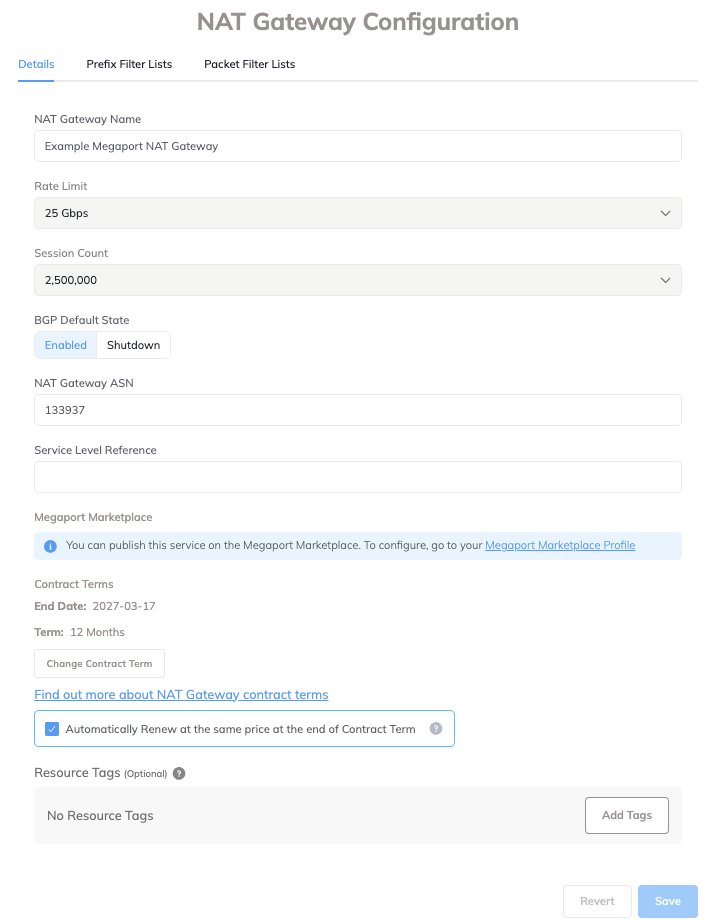
Edit any field on the NAT Gateway Configuration page as required, except for the NAT Gateway Rate Limit, Session Count, NAT Gateway ASN, or Megaport Marketplace visibility.
- Prefix filter lists – Click the Prefix Filter Lists tab to manage the prefix filter lists on this NAT Gateway.
For more information, see BGP prefix filtering. -
Packet filter lists – Click the Packet Filter Lists tab to manage the packet filter lists on this NAT Gateway.
For more information, see Using packet filters. -
NAT Gateway Name – Change the name shown in the Megaport Portal. For example,
gcp-aws-nat-gateway. -
BGP Default State – Specify whether newly created BGP connections are enabled or shut down by default. Select Enabled (the default) to activate new BGP sessions immediately when you save the configuration. Select Shutdown to place new BGP sessions in a shut-down state when you save the configuration.
For example, you might want to select the Shutdown option if you plan to add several BGP sessions across your Virtual Cross Connects (VXCs) but need to complete other router setup before they exchange route information. After you finish configuring your routers, navigate to the relevant BGP sessions and enable them.
For more information about overriding the BGP state for an individual connection, see Shutting down a BGP connection.
-
Service Level Reference (optional) – Specify a unique identifying number for your Megaport service to be used for billing purposes, such as a cost center number, unique customer ID, or purchase order number. The service level reference number appears for each service under the Product section of the invoice. You can also edit this field for an existing service.
-
Contract Terms – Click Change Contract Term to increase the contract term for the NAT Gateway.
Enable the Minimum Term Renewal option for services with a 12, 24, 36, 48 or 60-month term to automatically renew the contract at the same discounted price and term length at the end of the contract. If you don’t renew the contract, at the end of the term, the contract will automatically roll over to month-to-month contract for the following billing period, at the same price, without term discounts.
For more information about contract terms, see NAT Gateway Pricing and Contract Terms. -
Resource Tags – You can use resource tags to add your own reference metadata to a Megaport service.
To add a tag:- Click Add Tags.
- Click Add New Tag.
- Enter details into the fields:
- Key – string maximum length 128. Valid values are a-z 0-9 _ : . / \ -
- Value – string maximum length 256. Valid values are a-z A-Z 0-9 _ : . @ / + \ - (space)
- Click Save.
If you already have resource tags for that service, you can manage them by clicking Manage Tags.
Warning
Never include sensitive information in a resource tag. Sensitive information includes commands that return existing tag definitions and information that will identify a person or company.
- Prefix filter lists – Click the Prefix Filter Lists tab to manage the prefix filter lists on this NAT Gateway.
-
Click Save.