Creating MCR Connections to IBM Cloud Direct Link
IBM Direct Link lets you seamlessly create private connections between your on-premises and cloud resources. Direct Link Connect with Megaport extends your organization’s data center network and to public clouds to offer better performance, higher throughput, and security to IBM Cloud environments.
When connecting to IBM through a Direct Link Connect with Megaport, the Virtual Cross Connect (VXC) forms the Layer 2 component of the connection. Layer 3 BGP connectivity is established directly between the customer and IBM Cloud.
This topic describes how to connect to IBM Direct Link from an MCR. For more information about connecting from a Port, see Connecting to IBM Cloud Direct Link.
You can also watch this Private Connectivity to IBM Cloud video which shows how quick and easy it is to connect to IBM Cloud using Megaport.
Important
If you edit an older VXC to IBM Cloud Direct Link in the Megaport Portal, a prompt appears stating that Megaport has updated API integrations, and advises you to cancel and reorder the VXC. In this situation, we recommend that you cancel and then reorder the VXC using the latest API integration.
Benefits of IBM Direct Link through Megaport
The benefits of creating an IBM Direct Link through Megaport include:
- Reduced latency and increased availability
- Reduced data egress cost
- Secure connectivity
Creating a connection to IBM Direct Link
To set up IBM Direct Link with Megaport, you need to create a VXC from your MCR in the Megaport Portal to the IBM Direct Link cloud location.
Design considerations when setting up your Direct Link to IBM Cloud:
-
Redundancy – Megaport supports redundant connections. In each of the Direct Link peering locations, Megaport has established two diverse Direct Links with IBM Cloud. In the Megaport Portal, the Ports are noted as Port 1 and Port 2. A redundant configuration requires two or more VXCs.
-
Local and Global routing options – The Local Routing option provides access to data centers with the same three-letter prefix as the Point of Presence (such as DAL, AMS, and MEL). The Global Routing option is required as an add-on to reach data centers outside of those locations. For more information about local and global routing options, see the IBM cloud documentation.
-
Port speed – Port speed options for IBM Direct Link Connect are 50 Mbps, 100 Mbps, 200 Mbps, 500 Mbps, 1 Gbps, 2 Gbps, or 5 Gbps. For pricing details from IBM, see Pricing for IBM Cloud Direct Link.
-
Megaport-enabled Direct Link locations:
- North America: Ashburn, Chicago, Dallas, San Jose
- Europe: Amsterdam, Frankfurt, London, Paris
- Australia: Sydney
- Asia: Osaka, Tokyo
To create a VXC to the IBM Direct Link Connect
- In the Megaport Portal, go to the Services page and select the MCR you want to use.
If you haven’t already created an MCR, see Creating an MCR. -
Add an IBM Cloud connection for the MCR.
If this is the first connection for the MCR, click the IBM Cloud tile. The tile is a shortcut to the configuration page. Alternatively, click +Connection, click Cloud, and click IBM Cloud.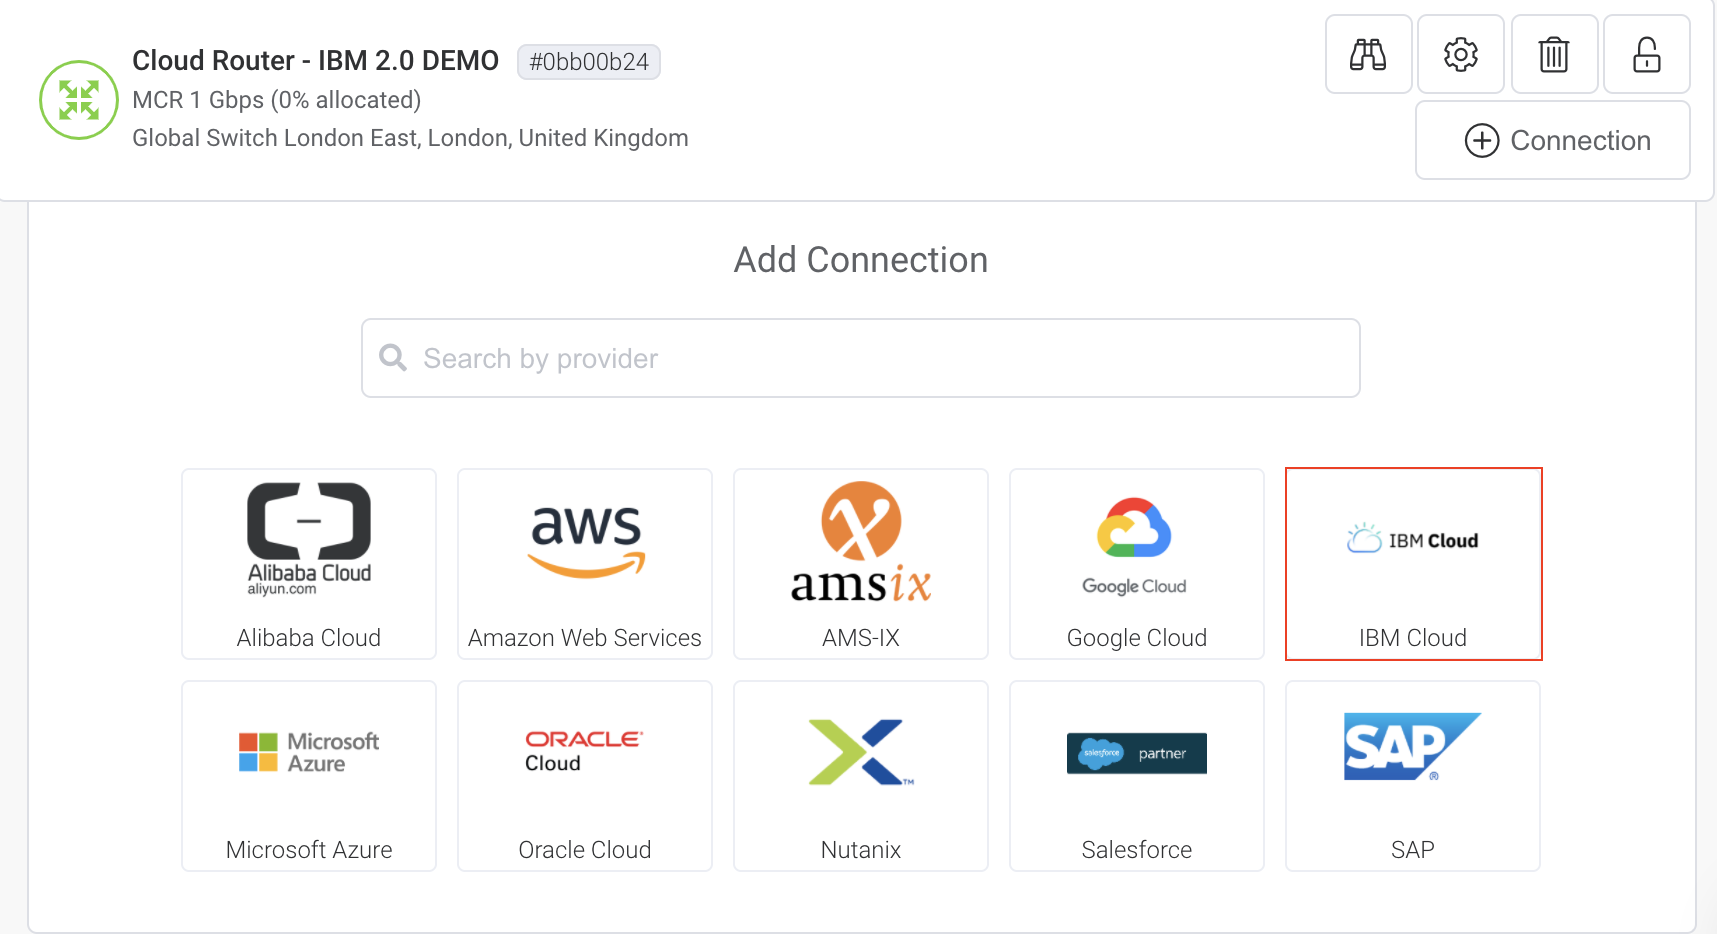
-
Select the IBM Direct Link location where the peer will be set up with IBM Cloud and click Next.
This destination should match the peer location selected in the IBM Cloud.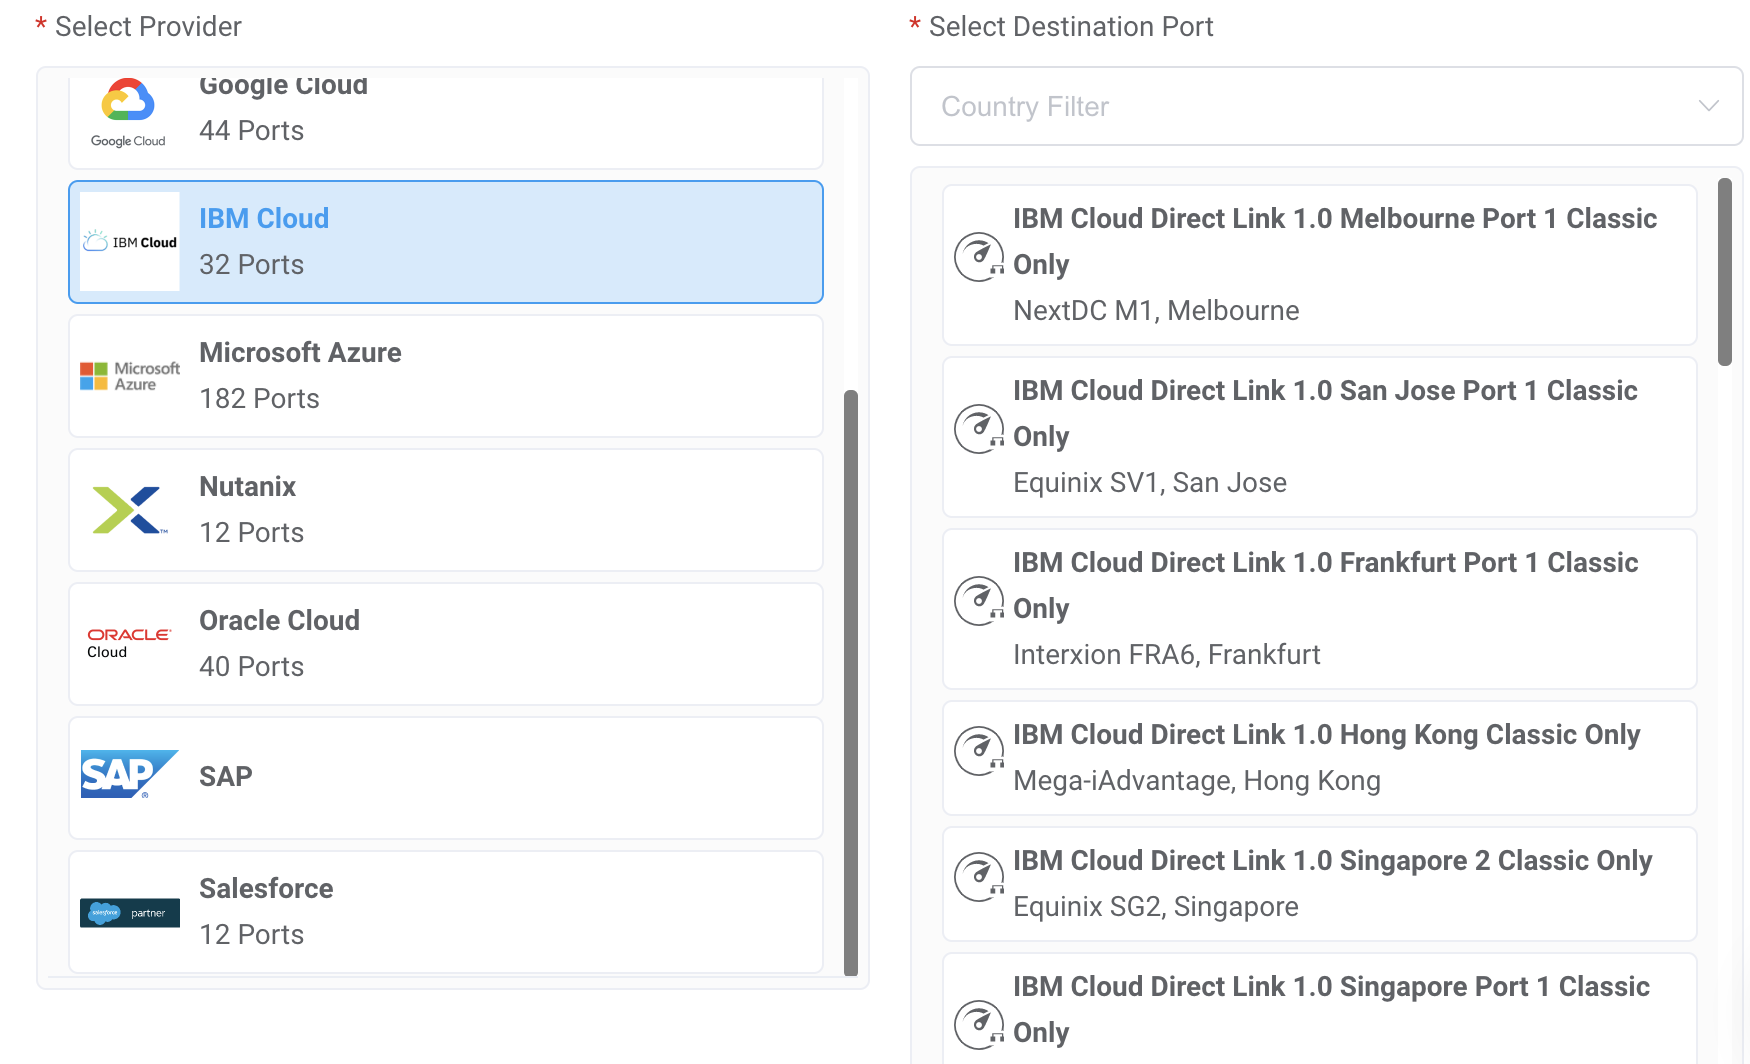
-
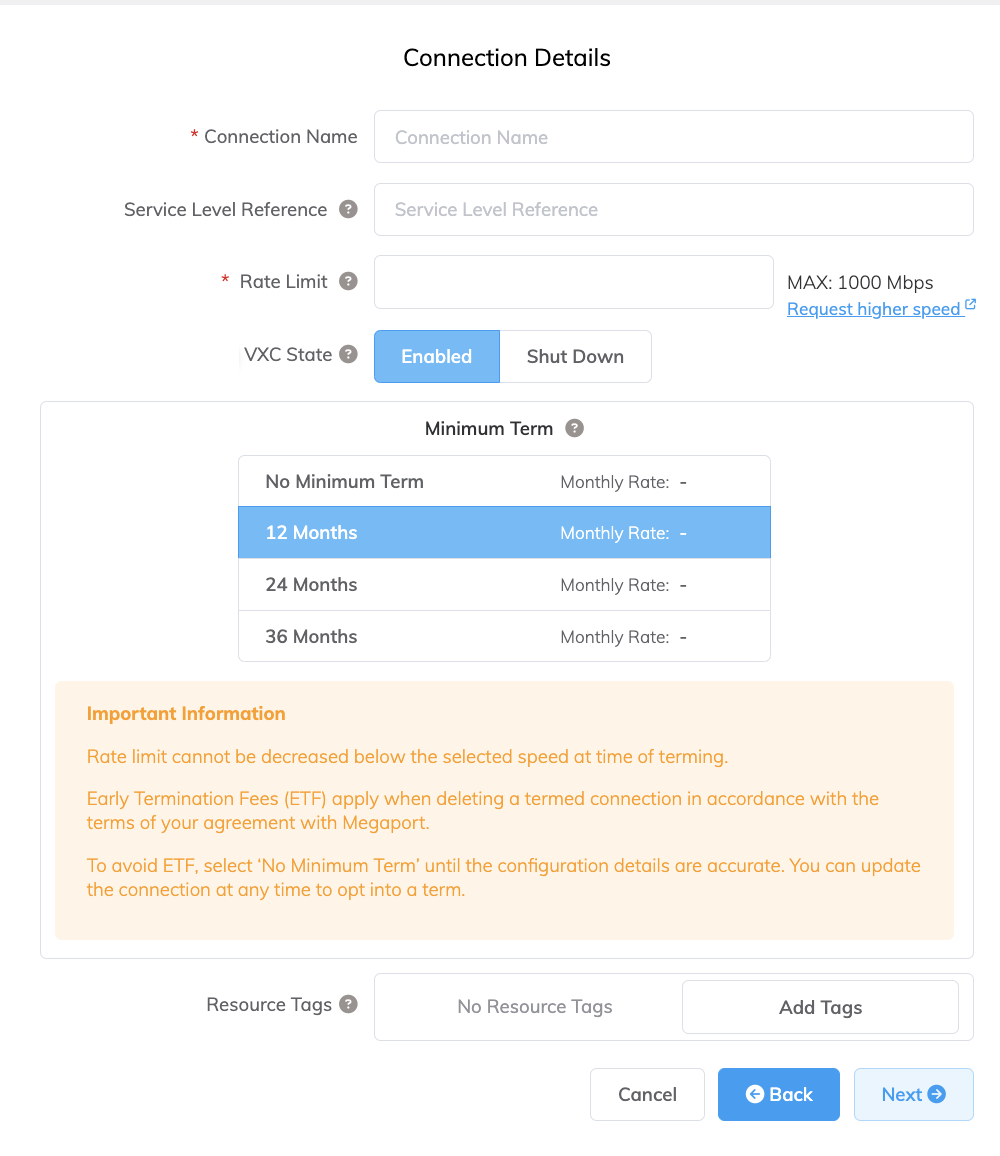
Specify the connection details:
-
Connection Name – The name of your VXC to be shown in the Megaport Portal.
-
Service Level Reference (optional) – Specify a unique identifying number for the VXC to be used for billing purposes, such as a cost center number or a unique customer ID. The service level reference number appears for each service under the Product section of the invoice. You can also edit this field for an existing service.
-
Rate Limit – The speed of your connection in Mbps. The speed tiers available are dependent on the selected location, and match the speeds available in IBM. Select the port speed from the drop-down list to match the selected speed in the IBM Cloud portal for the Direct Link service.
-
VXC State – Select Enabled or Shut Down to define the initial state of the connection. For more information, see Shutting Down a VXC for Failover Testing.
Note
If you select Shut Down, traffic will not flow through this service and it will behave as if it was down on the Megaport network. Billing for this service will remain active and you will still be charged for this connection.
-
Minimum Term – Select No Minimum Term, 12 Months, 24 Months, or 36 Months. Longer terms result in a lower monthly rate. 12 Months is selected by default.
Take note of the information on the screen to avoid early termination fees (ETF). For more information, see VXC Pricing and Contract Terms and VXC, Megaport Internet, and IX Billing. -
Resource Tags – You can use resource tags to add your own reference metadata to a Megaport service.
To add a tag:- Click Add Tags.
- Click Add New Tag.
- Enter details into the fields:
- Key - string maximum length 128. Valid values are a-z 0-9 _ : . / \ -
- Value - string maximum length 256. Valid values are a-z A-Z 0-9 _ : . @ / + \ - (space)
- Click Save.
If you already have resource tags for that service, you can manage them by clicking Manage Tags.
Warning
Never include sensitive information in a resource tag. Sensitive information includes commands that return existing tag definitions and information that will identify a person or company.
-
-
Click Next.
The MCR A-End page appears. This page confirms that the MCR connection configuration will be generated automatically, and can be modified later.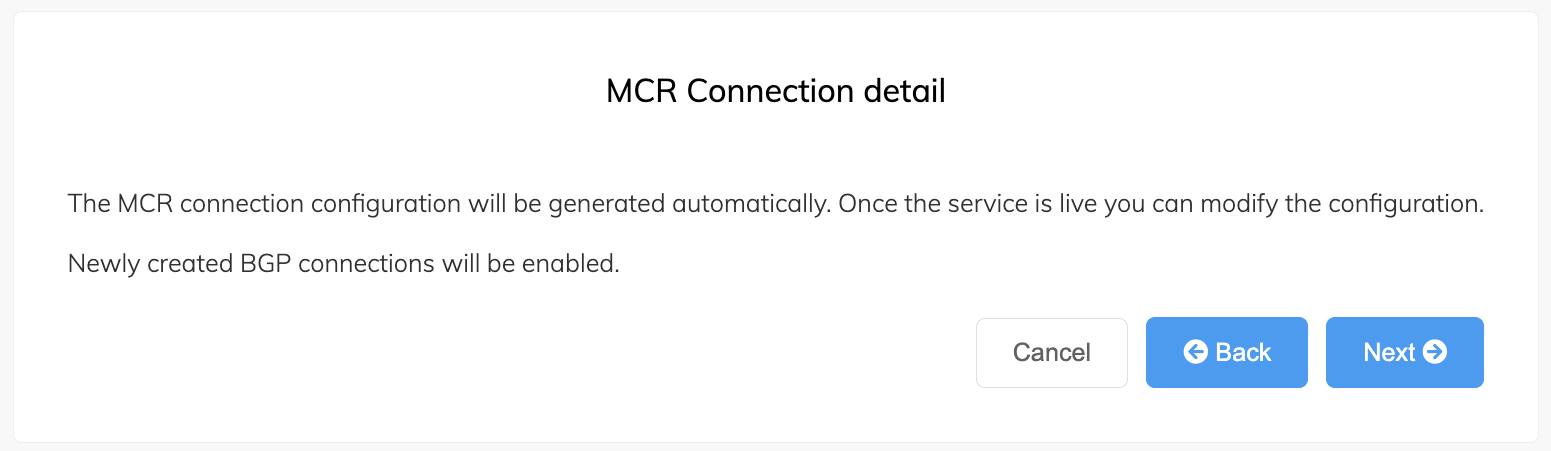
-
Click Next.
The Cloud Details page appears. -
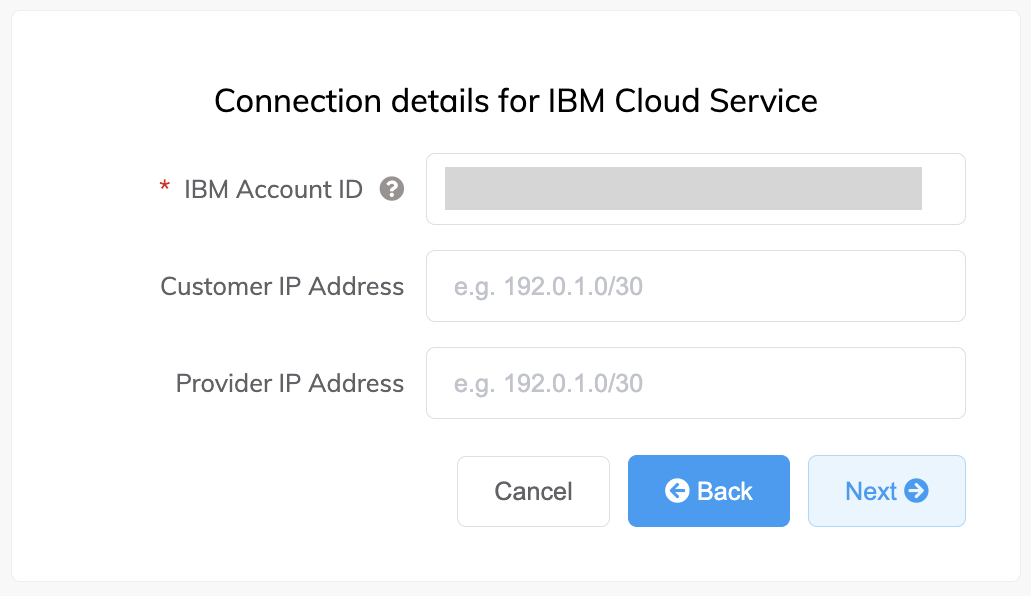
Specify these IBM cloud details:
-
IBM Account ID – Your IBM account ID. You can get your account ID from the IBM account setting in the IBM Cloud portal.
This is used to link the Megaport Portal and IBM Cloud portal. Confirmation for this new connection will be sent to the specified account ID in the IBM Cloud portal. -
Customer IP Address (optional) – The IP address space (in CIDR format) you will use on your network for peering. For private connections, this field is optional and if left blank, Megaport assigns a private /30 address. For public connections, this field is required and needs public IPs (/30) allocated by you for BGP connectivity. You must own the public IPs.
-
Provider IP Address (optional) – The IP address space in CIDR format assigned in the IBM network for peering. If left blank, Megaport automatically assigns a private /30 address.
-
-
Click Next.
A summary page appears with drop-downs containing the MCR A-End and IBM cloud details, and the monthly cost.
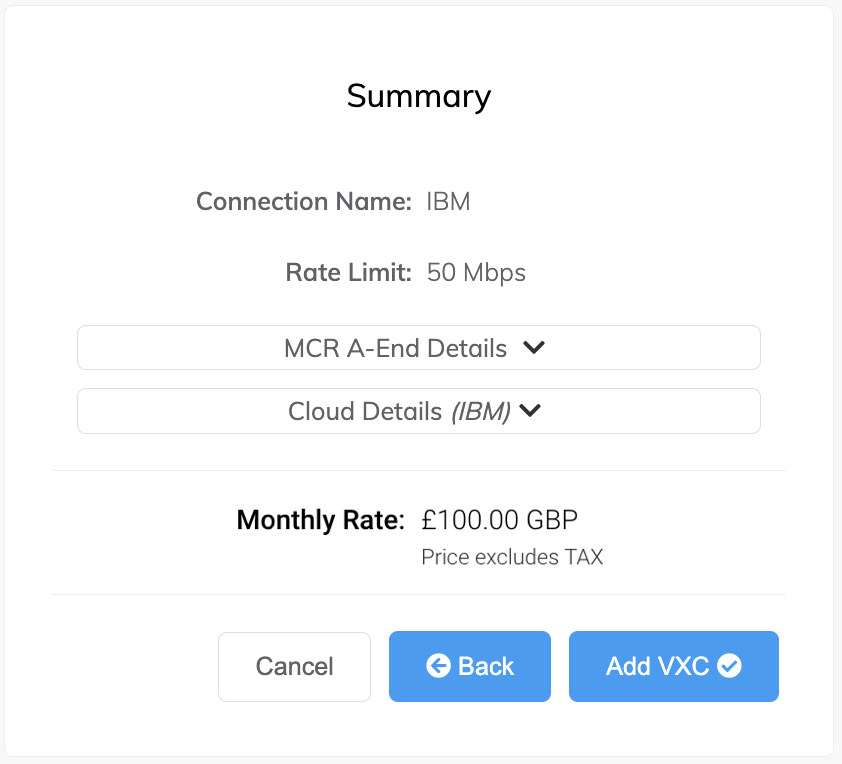
-
Click Back to make changes or click Add VXC.
Once you have finished this configuration, you can configure additional VXCs or complete the order. -
Click Order on the Configured Services tab.
-
Click Order Now on the pop-up window to complete the ordering process.
The IBM Portal Connection prompt displays. This is a reminder that you need to approve or reject the request in the IBM Cloud portal, and provides a link to the IBM Cloud portal.
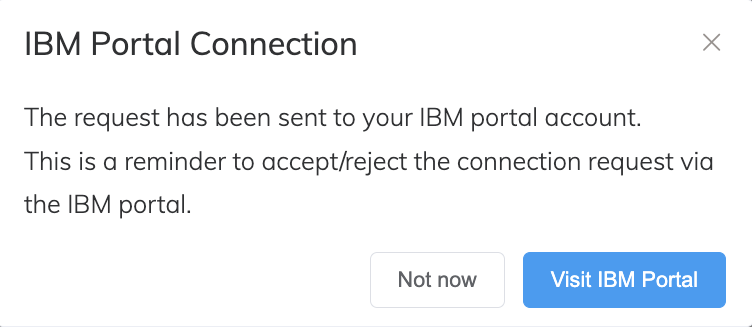
Once the VXC is created and ordered in the Megaport Portal, the change is available immediately in the IBM Cloud portal. After you verify and approve the inbound IBM VXC in the IBM Cloud portal, the IBM Direct Link Connect status changes to Provisioned and the Megaport VXC is active.
Note
- When editing a VXC in the Megaport Portal, a prompt listing the changes appears first, then the IBM Portal Connection prompt. If editing an older VXC to IBM Cloud Direct Link, a prompt appears stating that Megaport has updated API integrations, and advises you to cancel and reorder the VXC. In this situation, we recommend that you cancel and then reorder the VXC using the latest API integration.
- When terminating a VXC in the Megaport Portal, confirm the termination in the prompt that appears. The IBM Portal Connection prompt appears to remind you to cancel the service in the IBM Cloud portal also. The VXC is terminated on the Megaport side, but you must do the same in the IBM Cloud portal to fully terminate the service.
To verify the BGP configuration
- In the Megaport Portal, select the VXC.
- Click the gear icon next to the VXC.
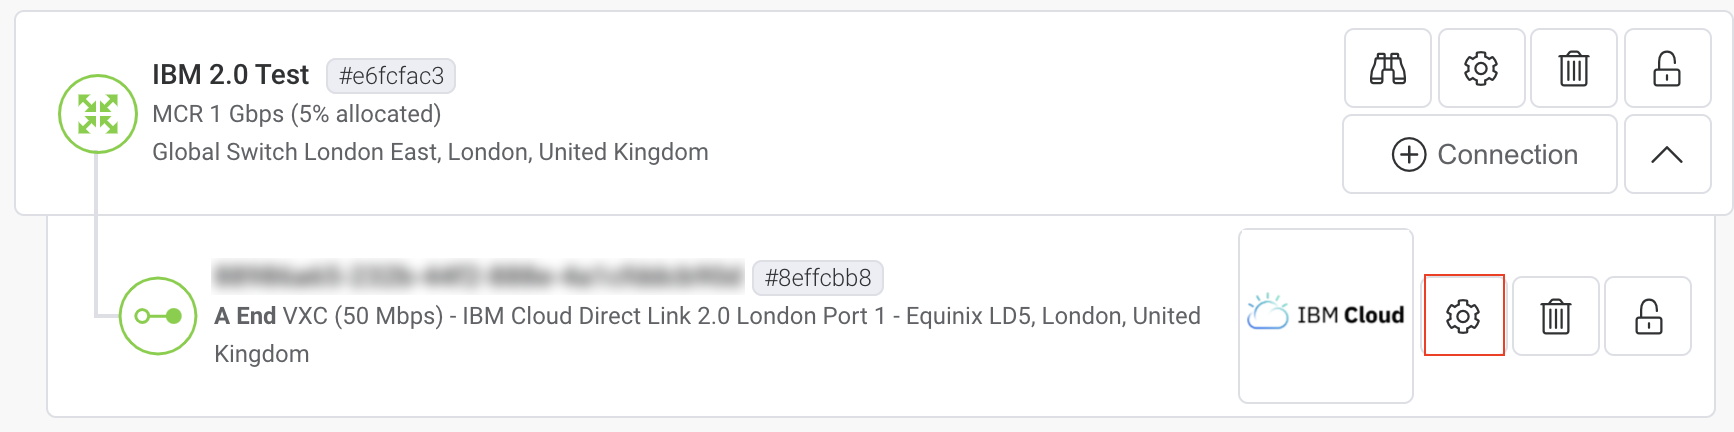
- On the Connection Details page, click Details.
The Configuration Details page appears.

The Service Status indicator displayed in green means that the service is active. - Click Logs.
The Service Log page appears.

A green check mark indicates that the BGP session is working as expected.
Using a service key
You can create a service key that allows you to share your service with another Megaport account holder. For more information, see Setting up Service Keys.